PDM SDK template
The PDM SDK Visual Studio project template saves time from having to rewrite the same boilerplate code everytime you write a new add-in.
Note
The set of instructions below use Visual Studio Community 2019. The same applies for older version of Visual Studio.
To create a new add-in project,
- Open Visual Studio. We recommend you run VS as admin
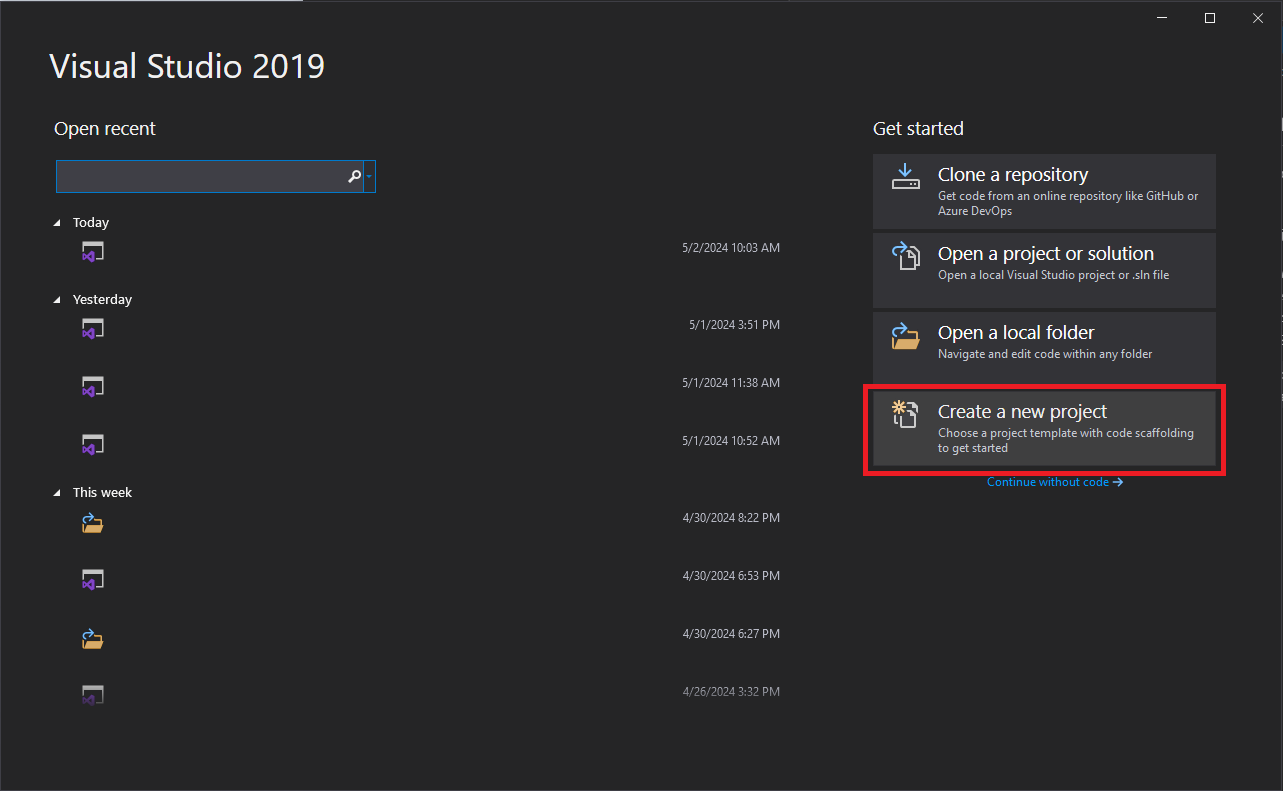
- If you do not see the Visual Studio 2019, window Go to File > New Project...
- Select Create a new project...
- Configure your project by giving it a name and a location.
- Click OK.
- In the next window, search for PDM SDK Add-in Template.

Important
If you do not find the templates, this means that you were not able to install the PDM SDK Templates properly. Please refer to the previous page for more information.
Warning
Depending on your version of Visual Studio, you may need to filter the project templates by their programming language.
- There are two templates, one in C# and one in VB.NET. Choose which ever is best for you.
- When you choose the template, a PDMSDK specific window appears. Please give the add-in a name and description and complete the other fields.
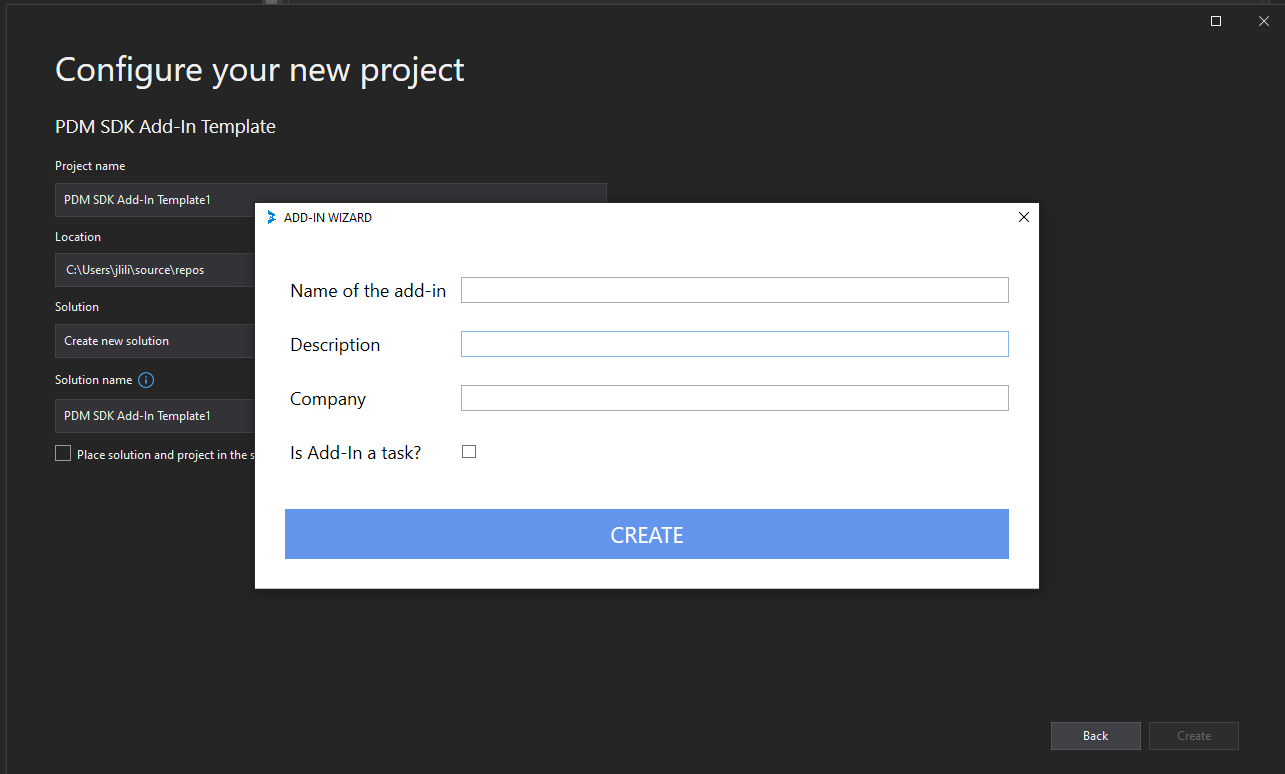
Click OK to create the add-in project.
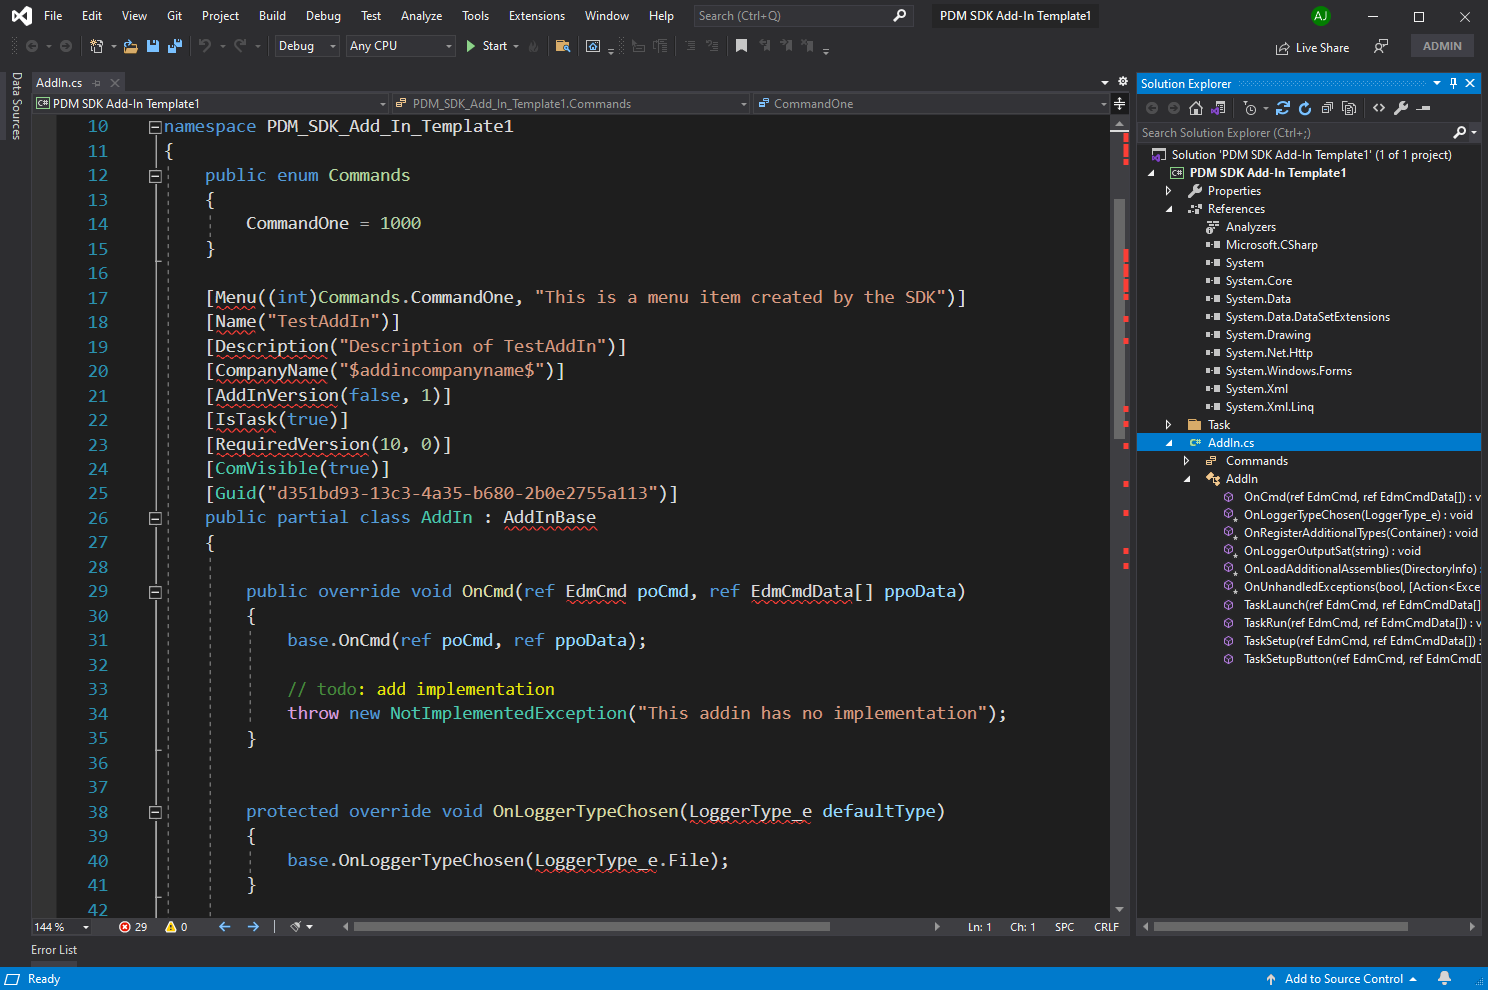
After you have entered the add-in's information and clicked OK, the SDK template will create your add-in files. Your Visual Studio will look something similar to this:
Note
The swigly lines under the code are there because we have not restored the PDM SDK nuget package yet. This is something that will be done in the next chapter.
Note
You may notice that the company name has not been ported correctly to AddIn.cs. This is a known issue in the SDK template.